1. The Essentials: What You Need
Before you start, you need the right tools. Sanitation is 90% of winemaking; if your equipment isn't clean, your wine will spoil. Avoid bleach (it causes cork taint) and use a dedicated sanitizer like Star San.
- Primary FermenterFood-grade plastic bucket (7-8 gallons) with a lid.
- Carboy (Glass/PET)6-gallon vessel for secondary fermentation and aging.
- Airlock & BungAllows CO2 to escape while keeping oxygen (and bugs) out.
- HydrometerMeasures sugar content (Brix) and potential alcohol.
- pH MeterCrucial for monitoring acidity (more on this later).
- Auto-SiphonFor "racking" (moving) wine without disturbing sediment.
2. The Process: Step-by-Step
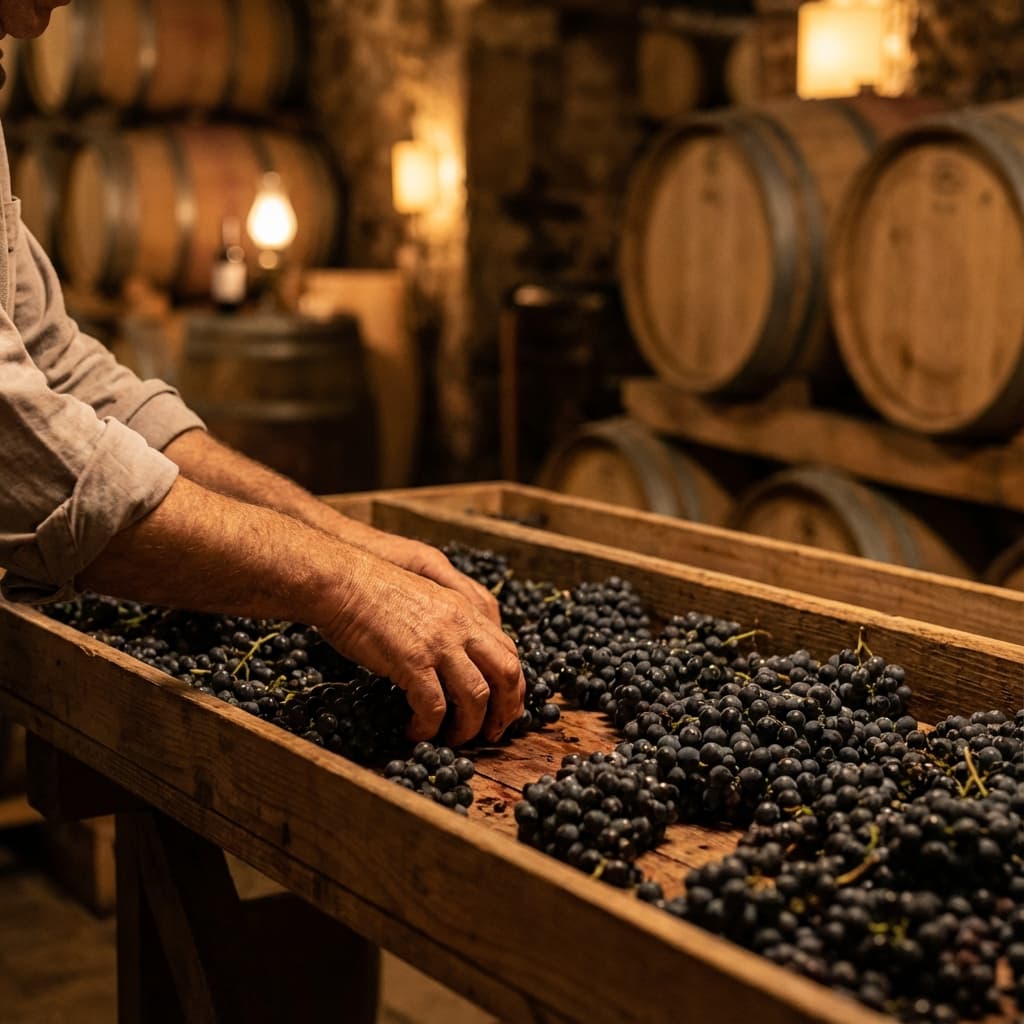
Step 1: Prep & Crush
If using fresh grapes, you must destem and crush them. Stems contain harsh tannins that can make wine bitter. The goal is to break the skins to release the juice. This mixture of juice, skins, and seeds is called the Must.
Step 2: Analysis & Adjustment
Before fermentation, measure your stats.
Sugar (Brix) & Chaptalization: You want a specific gravity (SG) around 1.090 for a 12-13% ABV wine. If your grapes are not sweet enough (low SG), you must add sugar—a process called Chaptalization.
Which sugar? Plain white granulated cane sugar (Table sugar) is the industry standard for home winemakers as it ferments completely cleanly. Corn sugar (Dextrose) is also excellent. Avoid honey or brown sugar unless you specifically want those flavors.
Tip: Always dissolve the sugar in some warm must before stirring it into the main batch.Acidity (pH): This is critical for stability.
Step 3: Primary Fermentation
Add your chosen yeast (see below). Keep the temperature stable (70-75°F for reds, cooler for whites). You will see vigorous bubbling. Stir the "cap" of skins down daily to extract color and prevent mold.
Step 4: Pressing & Racking
After 5-7 days, when the SG drops to around 1.000, fermentation slows. Press the skins to extract the last wine, then siphon (rack) the liquid into your glass carboy. Fill it to the neck to minimize oxygen exposure. Attach the airlock.
Step 5: Aging, Clearing & Bottling
Patience is key. Let the wine sit in the carboy for 3-12 months (Reds need longer than Whites). Rack it every 2-3 months to remove sediment.
When to Bottle: When the wine is crystal clear and stable (no bubbles for weeks).
Stabilization: If you plan to back-sweeten, you MUST add Potassium Sorbate and sulfites to prevent corks from popping.
Bottling: Sanitize bottles. Siphon wine in, leaving an inch of headspace. Cork immediately. Lay bottles on their side for 3 days to hydrate the cork.
3. Deep Dive: Choosing Your Yeast
Never rely on "bread yeast". Using the right strain gives you control over the flavor profile.
| Yeast Strain | Best For | Characteristics |
|---|---|---|
| Lalvin EC-1118 | Everything (Sparkling, White, Late Harvest) | The "workhorse". High alcohol tolerance (18%), neutral flavor, very robust. |
| Lalvin RC-212 | Pinot Noir, Light Reds | Enhances structure and color stability. fruity and spicy notes. |
| Lalvin 71B | Fruity Whites, Rosé, Nouveau styles | Metabolizes properly malic acid, creating a smoother, softer wine. |
| Montrachet | Full-bodied Chardonnay, Reds | Vigorous, good for complex wines, but produces sulfides if stressed (needs nutrients). |
4. The Science: pH and Filtration
Understanding pH
pH is the gatekeeper of wine quality. It controls color, sulfite effectiveness, and aging potential.
Target Range:
- White Wines: 3.0 – 3.3 (Crisp, fresh)
- Red Wines: 3.3 – 3.6 (Stable color, smoother)
Use a digital pH meter. If pH is too high (>3.8), the wine tastes "flabby" and spoils easily (add Tartaric Acid). If too low (Start 3.0), it is tart (add Calcium Carbonate).
Filtration: Clarity vs. Flavor
Filtration is optional but highly recommended for brilliance. It removes yeast and prevents re-fermentation in the bottle. Filters are rated in microns:
- Coarse (6 microns): Removes visible sediment.
- Fine (1 micron): "Polishing" grade. Adds shine.
- Sterile (0.45 microns): Removes yeast and bacteria. Mandatory for sweet wines to prevent exploding bottles.
Start Your Winemaking Journey
A Note on Mixing Ratios
Beginners often ask: "How much fruit vs. water?" Here is a reliable rule of thumb for a standard 1 Gallon (3.8L) batch:
- Fresh Grapes15-18 lbs of grapes.
Water: None.
Sugar: Usually none (grapes are sweet enough). - Fruit Wine (Berries)3-6 lbs of fruit.
Water: Top up to 1 gallon.
Sugar: 2-3 lbs (to reach SG 1.090). - Wine KitsConcentrate + Water.
Follow the kit instructions exactly.
They are pre-balanced.
The best way to learn is to do. Start with a kit or a batch of juice, master the sanitation and fermentation steps, and soon you will be ready to tackle fresh grapes.